Reupholstery. Take 1.

Back in July I bought a lovely pair of once-peacock blue nailhead trim oval back Louis chairs. They were a total steal at $50 for both (originally $40 each; no idea how I talked her down. No, really, I have no memory of getting them for $50 but I have the receipt to prove it), especially after saw them in Ballard for $369 each. I am finally around to reupholstering them and while I am not 100% on the fabric I started the process.

Step 1: Remove the nail heads. All 237 of them.

Step 2: Remove the staples.

Step 3: remove the gnarly fabric from the oval back, then remove the second and third set of staples holding in the padding and back fabric.

Step 4: Remove the fabric & padding from seat.

Step 5: Clean the frame. I’m actually sanding and lightly staining the wood. I know many are painting wood these days but I want to keep the integrity of the chair in tact.

Step 6: Add new cushion & fabric.

Step 7: Replace fabric on back of chair.

Voila.

Dragon Lamps

I had the chance to do se thrifting this weekend and while reviews are mixed on these puppies, I think they are amazing. Wait for it….Dragon Lamps. Yes, folks, I bought a pair of dragon lamps. Honestly, I have no idea what compelled me to buy them (was it the $8 price?) but I think they’re amazing. They will look great on the fauxdenza we are going to build in the dining room. The downside? Only one works. The other doesn’t even have a wire so I swung by Menards on my way home for a lamp kit

House Projects

Our house is a 1979 bi-level that needed a lot of work. We bought it sight-unseen (more on that later) and knew it needed to be updated so despite the distance, I created a project list long before we even closed on the house. The only major work required is a new roof and the tearing down of a wall between the kitchen and bath, but we have a ton of small project which have quickly added up. Here’s a quick project list starting with the purchase of the house.

Overall
– new interior paint throughout house
– paint all dark wood trim & doors white
– replace carpet in upstairs bedrooms
– replace all outlets, covers, switches and switch plates (52 total!)

– replace all brass door handles with nickel (so far we have completed the entire upstairs)

Entry
– paint raisers on stairs
– replace tile flooring
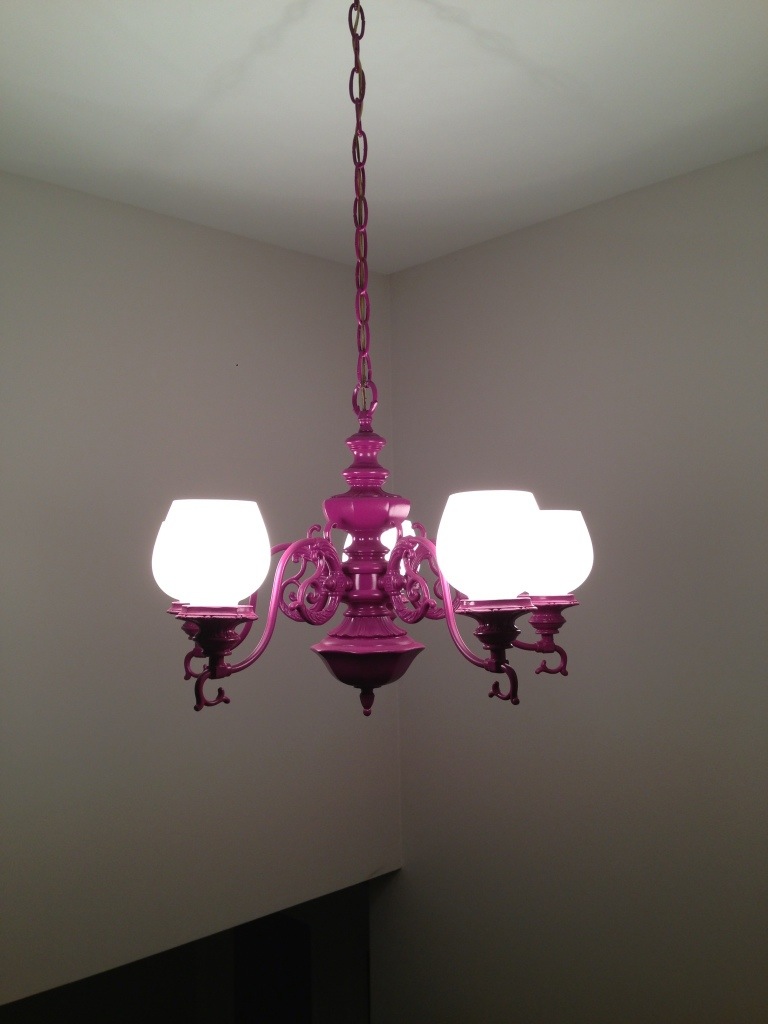
– paint chandelier over stairs
– install closet organizer

– paint railing white
– replace light fixture

Kitchen
– new hardware in kitchen
– add a microwave
– scrub junk out of stove top burner (thank you, Pinterest, for the ammonia trick!)

– tear down wall between kitchen/dining/living
– add island
– replace tile floors with oak for consistency throughout house
– tear out pantry & replace with cabinets
– new, white cabinets & new counters
– update fridge, oven and dishwasher with stainless steel

Main Bath
– replace light
– replace hardware
– replace mirror
– replace faucet
– install towel ring
– move toilet paper holder
– replace towel bar
– replace floor with travertine
– paint vanity white
– paint walls

– replace vanity top (?)
– spray tub white (?)
– replace almond toilet with white (?)
– replace vanity completely (?)

Sunroom
– replace carpet in sunroom; replace with luxe vinyl
– paint
– replace skylights
– replace sliding doors with windows

Dining Room
– replace hole in ceiling with light fixture

Master & Girls Rooms
– install closet system

Master Bath
– replace floor
– install recessed 48″ mirror cabinet
– replace lighting
– new vanity, top & faucet
– re-tile shower & install transparent shower door
– change out towel bar & toilet paper holder

Downstairs LR
– update brick fireplace

Laundry
– install storage system
– update floor
– replace utility tub

As for furniture, we could use the following:
– mirror for entry
– table for entry
– rug for entry
– new couch for living room

– side chair for living room
– coffee table for living room
– crib & dresser for H
– twin bed for S

– night stands in master
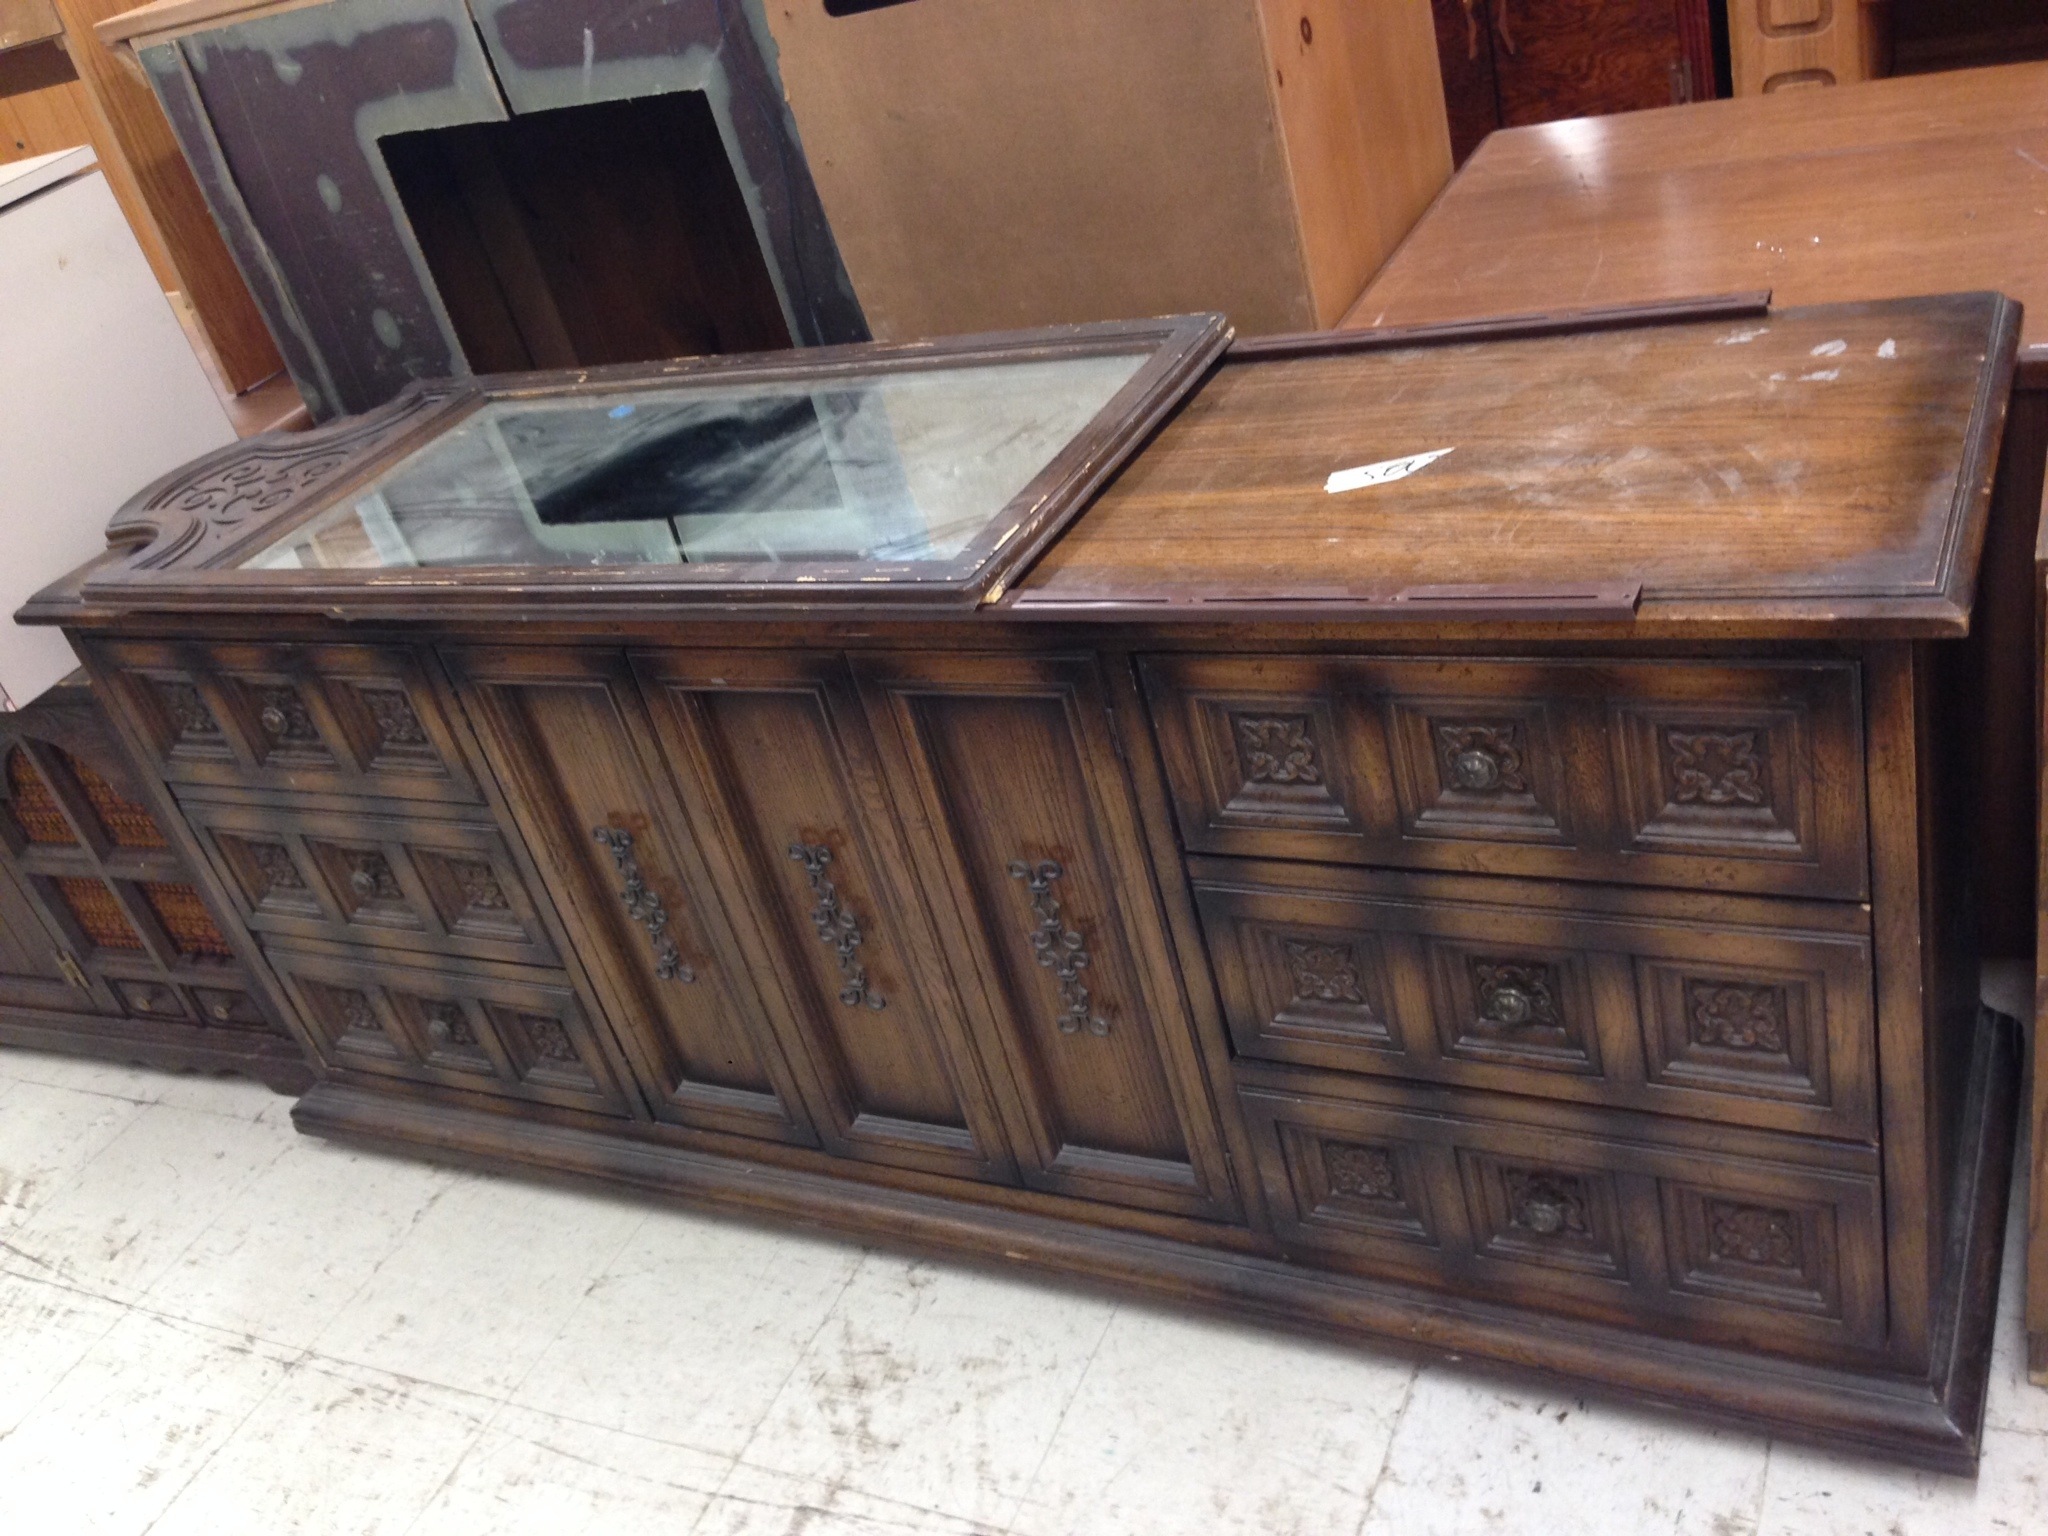
– dresser (credenza style) for master
– dining room table & chairs
– buffet/sideboard for sunroom
– couch, love seat & chairs for sunroom
– coffee & side tables for sunroom

Holy balls. That’s a lot. Not to be dramatic but I haven’t updated this in awhile so the list is larger than I recall. We have a lot of work to do!

Mid Century Credenza: Take 2

I had a little extra time today so I took S on a treasure hunt. We ended up at an antique store where I found this little gem on sale for $125. I was hoping for legs a little more inset and I’m not sure how I feel about the design on the doors, but for $125 this guy looks good.

20140110-232629.jpg

Sadly, the iguana is not included. And to think how good he’d look in my dining room.

Ikea Rast Hack : Mission Accomplished

My Rast saga is over. Last night I poly’d the drawer fronts and brought the rest of the drawer pieces inside to warm up by the fire.
20140108-211905.jpg

Looks cozy, right? Here are the rest of the pieces.

20140108-211811.jpg

20140108-211827.jpg

The upside of taking so long to furnish your house is you have loads of workspace. Glass half full, no?

I poly’d the drawers, assembled and voila. They’re done. Not sure I’m a fan of the pulls, but they will do for now. Overall not shabby pieces for under $100.

20140109-201935.jpg

Main Bath Makeover

The saga of the Rast Hack continues. Given I nearly fumed us out of the house I moved my work to the garage where it’s about 32 degrees. Or less. Which means the stain is taking forever to dry. I poly’d the frame and finished painting the drawer fronts but I am still staining the rest of the drawer pieces. While closing the stain yesterday, I managed to splatter stain all over the just finished white drawer fronts. Oy. S after scrubbing, sanding and another coat of paint I should be able to poly the fronts today. I doubt the rest of the drawers are finished drying so poly may have to wait another day or so. Can I say this has turned into the longest. Project. Ever?

With that said, we (we = mostly my husband) managed completed Phase 2 of our man bath makeover (you didn’t hear about Phase 1? i probably was too covered in paint to discuss it). Phase 2 involved ripping out the old tile & putting in travertine, of which I purchased WAY too much (thank you, Lowes, for your return policy). Here are some before and afters.

Before:
– pinkish tile
– old faucet, light fixture, hardware
– brown vanity

20140108-102807.jpg

After:
– travertine tile (which seems to have the same pink hue but hoping I just need an eye exam because if we went through all this effort and ended up with the same tile I’d be a little annoyed)
– new hardware, faucet, light & mirror
– white vanity

20140108-103134.jpg

We obviously kept the almond tub and toilet. A white tub, tile and toilet will run us about $1K and I’d prefer to put that into our kitchen.

Hooray for another completed project!

Credenza/Buffet/Server DIY…maybe

I found this credenza at my local resale shop. It’s $40 and measures 72 x 30 x 20. It’s also 480 lbs (rough estimate). I am considering it for the dining room as I think it will fair better than my fauxdenza idea, but at $40 + paint and new hardware, it could be an easy and cheap diy. Should I keep the detailing? Think it will look good with a nice coat of paint or am I forcing it?

20131222-115134.jpg

Ikea Rast Hack: questions and chaos

I am in the middle of an Ikea Rast hack and given this is the first time I have ever stained anything it has turned out to be more of a bear than I expected. First, I wasn’t familiar with the difference in quality, smell, dry time, etc. between Minwax and Rustoleum stains. I started with Minwax. In my basement. And subsequently stunk up the whole house. I had fans running so I thought I would be okay, but no, clearly I was wrong.

I’m now in the middle of my second coat of Rustoleum (a kind man at Lowes said it has less odor than Minwax). It appears to be drying much faster than the Minwax but I am also doing the sides and rear of the drawer (why? I didn’t want to see the unfinished wood when I used them) but now I’m concerned the stain will rub off on the items inside — is that possible with a poly topcoat? I’m such a novice this is ridiculous. And it’s taking forever given I’m now doing it in the garage and its freezing! Maybe it will be done by summer. It doesn’t help I already want to move onto the next project – a painted credenza/buffet/server I found for $40 at a local resale shop.

Hang with me people. Pictures of the chaos to follow.

Have you stained a Rast? If so, what brand did you use, how many coats did it take and did you stain the drawers as well?

Procrastination

I am the Queen of Procrastination. I’m surprised it hasn’t gotten me into trouble yet. Thankfully I catch myself in just enough time. I do, however, still need help as I can’t live like this. If I make myself the promise to post every day am I setting a goal or just adding something to my to do list? Well, we shall see. Here’s to an early New Years Resolution of less procrastinating and more doing. And I just inadvertently quoted the Home Depot slogan. Ah well. Lets get started.